Showing posts with label felt. Show all posts

Wednesday, June 29, 2016

DIY Washi Tape Organizing Basket


Hello! Today is the day for a new project!

I love my washi tape but I was finding it all over my studio, it didn't really have a place. For awhile now, I have been thinking about a felt basket. I wanted something I could make any size I needed and it had to be sturdy. Now this little basket could store pencils and pens, embroidery floss, and more. Trust me on this one, you'll see more versions of this basket in the future I have plans for more.

If you don't own washi tape, it can be used for all sorts of things. I find myself marking things and holdings things all over the studio. First of all it is super cute and it can get addicting, I find myself collecting it in all colors. Second, when pulled off it doesn't leave a residue. Check out this project, where I used washi tape on my quilting ruler.

Enough of my chatter, here how to make your own basket.

Washi Tape Basket

Finished Size: 2” H x 2” W x 8” L
Holds approximately 12 washi tape rolls

Supplies:
2 Pieces of felt cut to 6” x 12” 
2 Pieces of Timtex  (heavy weight craft interfacing available from C&T) cut to 1.75” x 1.75”
3 Pieces of Timtex cut to 1.75” x 7.75”
2 Pieces of ribbon cut to 3”
Coordinating thread
Label (optional)

Instructions:

1. Cut 2” x 2” squares out of each corner of the felt pieces. For this basket I used National Non Woven's new felt color called Leaping Lizards (#2711) and White.

2. Arrange the Timtex pieces on to the felt, refer to the photo for placement.

3. Place a pin through all three layers to temporarily hold.


4. Tuck the raw edges of the ribbons into the three shorter side layers and secure with a pin.

5. Sew around the four outer edges using a 1/4” seam allowance. Do not sew the notches. Go back and stitch again using a  1/8” seam allowances.


6. Bring the notches together to form the corner of the basket. Pin all four layers together and sew together using a 1/8” seam allowance. Repeat for the three remaining corners.


7. Hand stitch a label on  the side if desired.


If you like this project sign up for the Jennifer Jangles newsletter to receive the projects via email. I will send you these three right now when you join.


If you make a basket, post t to the Jennifer Jangles Facebook page or tag me on Instagram.

Have a great day,


Visit my Website, Etsy Shop, Blog, Facebook

Monday, August 22, 2011

Pin Cushions and Embellishments


Hi there! I put a few new items on the website this summer and forgot to mention them. Boy, it was a busy summer! I always play catch-up in August and that's what I am doing now, catching you up on new work.


Remember when I returned from Spring Quilt Market? Yes...that was May....told you I'm playing catch up. I showed you this picture. Here is a pretty cake stand of pin cushion rings.


I love these! I have been making them for the past few years but it has taken me a long time to get them "right". I finally have them the quality and style I want as well as I have found the right components. These rings are adjustable so they fit anyone. The ball is wool so it keeps your pins and needles sharp as well. I wear one all the time when I sew. You should see mine, it's covered in pins, needles, thread....let's just say it is well loved.

It's funny how many folks have bought them just to wear as rings with no intentions of ever putting them to use. I love it!

So I know I have shown you this necklace before...


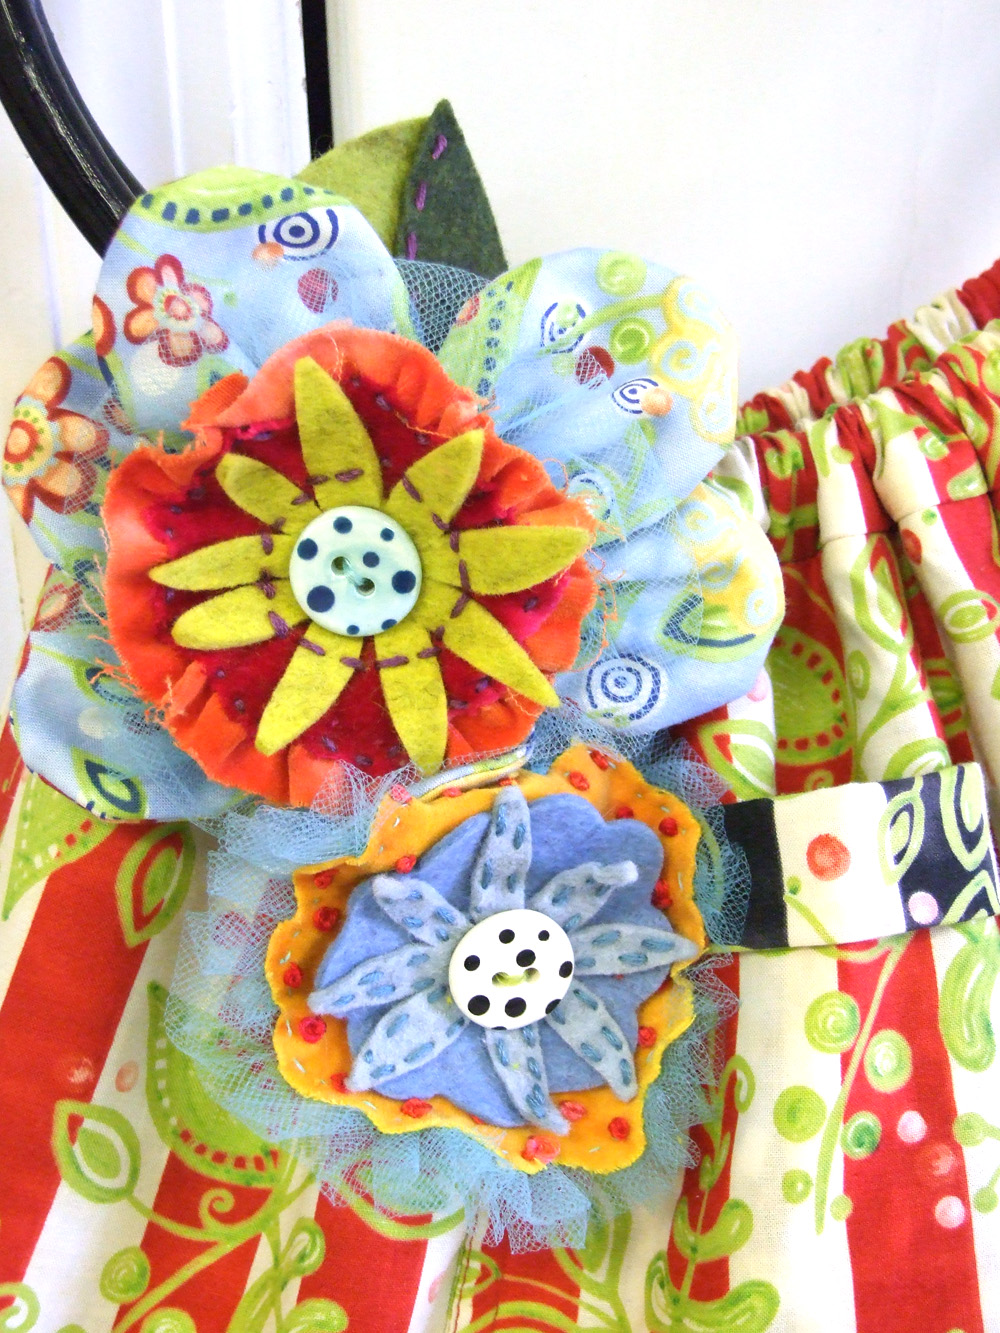
And this bag...


Where did I get all of those snazzy felts, beads, flosses, and velvets? From my embellishment kits. I found myself using the same supplies over and over again and decided I should kit them up. I don't know about you but I am a sucker for kits of fun stuff like this. In each pack you get an assortment of felt, tulle netting, floss, beads, trims, and my favorite, hand dyed velvets. Yep... I dyed those and I really wanted to keep them all for myself. Oh...I should mention each kit is a little different in color, even though they are all bright, how fun is that?

Alrighty... I am off to work on some blog tutorials today. I can't wait to share with you....

Have a great day,
Jennifer

Visit my Website, Etsy Shop, Blog, Facebook, or Studio and Gallery
Pin It button on image hover