

Let's talk appliqué....It's one of my favorite things to do. Here are the steps to create a fabric appliqué using paperbacked fusible webbing. You'll need an appliqué pattern, paper backed fusible webbing, a pencil, scissors, and a sewing machine with thread.

I am a designer for Thermoweb but before I was, they were still my favorite fusible to use. My go to fusible webbing with paper backing is Heat n Bond Lite. It's like it's name says, it's light weight and not very noticeable when used.
You'll want to trace each patterns piece of the applique on to the paper side of the product. Be sure to leave about a quarter inch around all of the tracings.

Cut out the pieces roughly, at this point you don't want to cut on the line, we'll do that later.

Choose your fabrics for the appliqués and iron the webbing side down on to the fabric. I use my iron on the hottest setting with steam. Let everything cool and then cut out the appliqué on the pencil lines. The paper gives everything a bit of stiffness so it's easier to cut out detailed work this way.

If there are smaller pieces that go on top of your larger appliqué pieces, you'll want to iron them on first. Do this by peeling off the paper and then arrange the pieces to your liking. Press in place with the iron. Press straight down with your iron, don't move it back and forth, that might push things around. If it doesn't all fit under the iron, pick the iron straight up and move it over and press again.

Once the appliqué is ready to be placed onto your background fabric, peel the paper off and arrange and press just like you did the previous appliqués.

Now you are ready to sew the appliqué to secure it permanently. I like to used an appliqué stitch. It's also some times called a blanket stitch. A zig zag stitch works well too. You can see my setting here on my machine.

I place the needle in so the outside of the stitch falls, just on the outside edge of the appliqué.
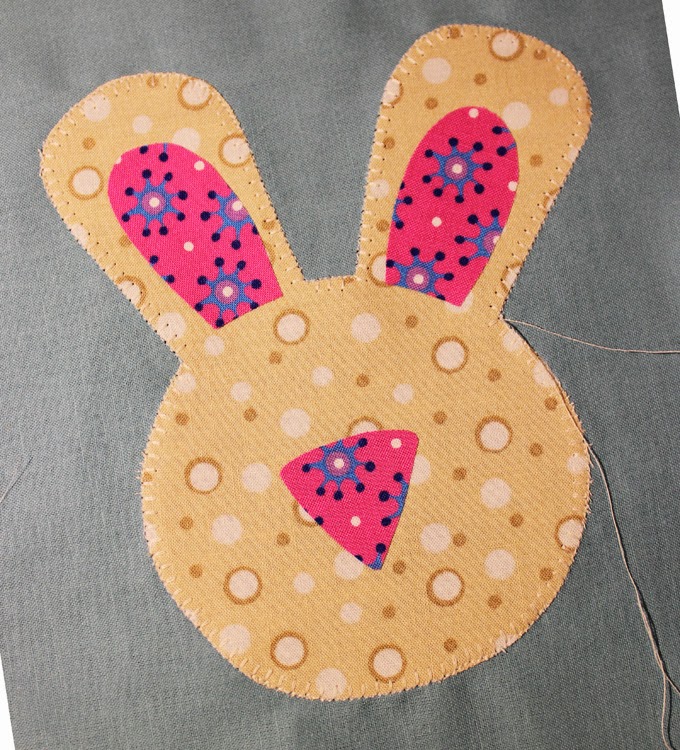
Sew all of the way around the outer edge of the appliqué.

Now to tie the threads to prevent unraveling, flip the appliqué to the backside. There will be two threads. Use a sharp point of some kind, I like my seam ripper for this, and pull the stitch up that is right next to the loose end. One of the ling ends of thread from the front should come through to the back. If you can't find the right stitch, wiggle around on the loose thread on the back, the stitch next to it will usually start to come up. That's where you'll want to pull. Pull the other thread the same so you end up with four threads on the back of the fabric.

Tie these in a knot and then trim the excess thread. Sew any other appliqués down, switching thread colors if necessary until it's finished.
I'll post pictures later of my finished appliqué. It's still top secret since it's part of my bunny appliqué challenge. The free bunny appliqué is here, if you want to try and appliqué project for your self.
Here's a pin-able tip page to pin and refer to later.

Have a great day,


