Wednesday, October 25, 2017

DIY Jack o'Lantern Mug Rug


Jack o’Lantern


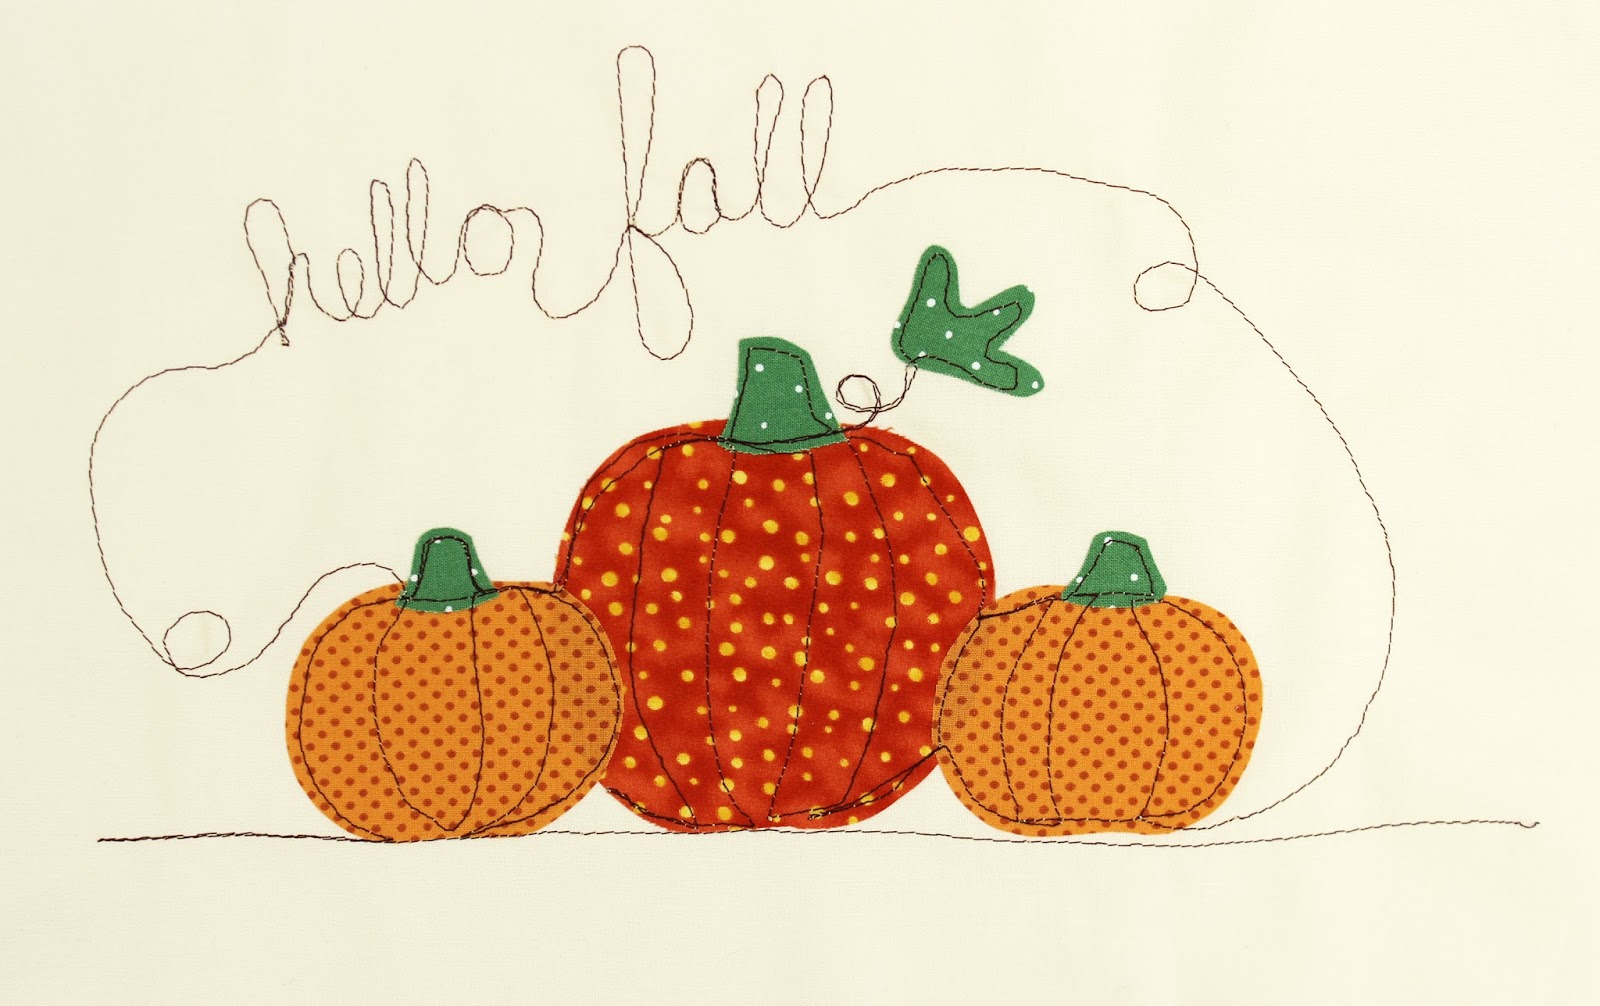
Remember that pumpkin applique from a few weeks ago? Today I'm turning it in to a mug rug for Halloween. Get the pieces here.

To make this rug, I cut a strip for the table measuring 2.5” x 8.5” and the background 5.75” x 8.5”  and sewed them together. Press the seam. Using paper backed fusible webbing (Heat n Bond lite is my favorite) I added the jack o’lantern. If you’re feeling insecure about drawing a face, here are the pieces I used. If you would like, top stitch a few trims down the right side and trim the rug to square it up. Quilt it like you would a quilt top and bind it. Now you’ve got a place to put your hot apple cider for Halloween.


Happy Sewing,


Have you visited the Pop Up Shop? New items added every week.


--------------------------------------------------------------------------------------------------------------------------


Wednesday, October 18, 2017

DIY Heart Pin Cushion


Heart Pincushion

It’s been awhile since we’ve had a new pincushion pattern here at Jennifer Jangles. I love big and stable pincushions that can hold a lot of pins. This heart cushion will give you lots of space for pins. I added a pom pom trim around the bottom, but as I was making it I was thinking of other options for trims as well. Tulle along the bottom would be cute, a smaller trim at the top could add some color, you get the idea.

This isn’t in the instructions, but in all of my pin cushions, I sew a small pillow to fill with sand and insert into the base of the cushion. This helps add additional weight to keep the cushion stable.

Supplies:
1/4 yard or fat quarter heart fabric
5/8 yard pom pom trim
Fiberfill
Button
Felt scrap
Doll makers needle

Cut 1 strip measuring 16.25” x  2.5” and print this pattern piece.


Instructions:

1. Sew the two shorter sides of the pin cushion  band together.
2. Starting with the seam of the band lined up with the point of the heart, pin of side of the band all of the way around the heart.  Note: add trim between the two layers of doing so.
3. Using 1/4” seam allowance, sew around the pinned edge.
4. Repeat step 2. on the second side of the band and the second heart. This time leave a section open for turning.
5. Clip the curves and turn right sides out. If you’ve chosen to sew a weighted pillow, slide it inside the pin cushion. Fill the pin cushion with fiberfill. Heres a video on stuffing objects with fiberfill, to get it looking good. Hand stitch the opening closed.

6. Place the button on top of the felt and cut a circle out, bigger than the button.  Sew the button and felt onto the cushion using a long doll makers needle. Using this needle, go all of the way through the cushion and back through the top to secure.

Here's an image to pin so you don't forget this tutorial.


Happy Sewing,


Have you visited the Pop Up Shop? New items added every week.


--------------------------------------------------------------------------------------------------------------------------

Wednesday, October 11, 2017

DIY Pumpkin Applique, Holiday Projects are Starting!


Happy Fall and welcome to Crafting Season! Today is the day my annual holiday project emails start. A long, long time ago, I started the Holiday Projects emails. When I started these I was making ceramic beads and created 10 holiday projects using the beads I made. They were all Christmas related. As the years continued, I continued with the name Holiday Projects because that's how everyone knows them. And after the last few days on Facebook and Instagram, I have heard how much you love them. I love to hear that you look forward to them and if you want to let your crafty friends know about them, please do. The sign up is at the bottom of this post. This year I have done some tweaking to make them work better for all of us. And, I am not limiting the projects to 10, there will be loads of inspiration coming your way. So let's get going!


It's starting to get darker earlier, there a little chill in the air and everything is just a bit cozier. Wouldn't you agree? With all of this coziness, I love to sit and sew at my machine, embroider by the fire, and bead at the kitchen table with the busy-ness of the house going on around me. Over the next ten weeks I will be bringing you weekly projects delivered by email, daily inspiration through social media, and I will be opening a handmade pop up shop. I think you will like this improved version of the holiday projects better.

This week to kick off the holiday projects and fall, I am bringing you a pumpkin applique set. You can download it here. They are reversed and ready for tracing onto paper backed fusible webbing. I decided to do some free motion embroidery on mine.


To do this, I drew where I wanted to stitch with a Frixion pen. If you haven't used these, they are great. You just iron the ink and it disappears. (As always be sure to test it on a scrap first, darker colors leave a little residue sometimes.)

This pumpkin applique could be used on a mug rug, an apron, a tea towel, a t-shirt, oh so many things. Please post a picture and tag me @jenniferjangles on Facebook or Instagram. If you got the newsletter today, you might have noticed the readers projects, I would love to see your pumpkin applique there next week.


Here's a an image to pin to one of your Pinterest boards for safe keeping.


Happy Sewing,


The pop up shop starts next week, October 18th.


--------------------------------------------------------------------------------------------------------------------------

Tuesday, October 3, 2017

Applique Tea Towels


Hello! I have an applique tea towel project for you today. It's a cute strawberry applique that can actually be used on anything, but here I am putting it on a tea towel. It makes a great handmade gift, everyone needs towels. 


The printable pattern is for the Strawberry Tea Towel. These tea towels were all made the same way as the Strawberry towel, but they have different appliques on them. You might recognize them from Stitch Kitsch. These are some of the appliques in the book. I had a blast making all of these and now I am thinking up all of the versions I can make for gifts. 


After I made all of these, I wanted to see if I could wash them..... usually you should do that first, but it was a backwards kind of day in the studio, plus I new what everything was made of so I had a pretty good idea it was going to work. And it did!


This is without ironing, straight out of the dryer. It looks just as good as when it went in.
Are you anxious to get started on some tea towels of your own? Here's where you can find the printable pattern
and here is the book with the appliques.

New projects are coming soon in the newsletters, sign up now so you don't miss one.


Enjoy!


Visit my Website, Etsy Shop, Blog, Facebook
Pin It button on image hover